Lesson 3 - Improve your soil
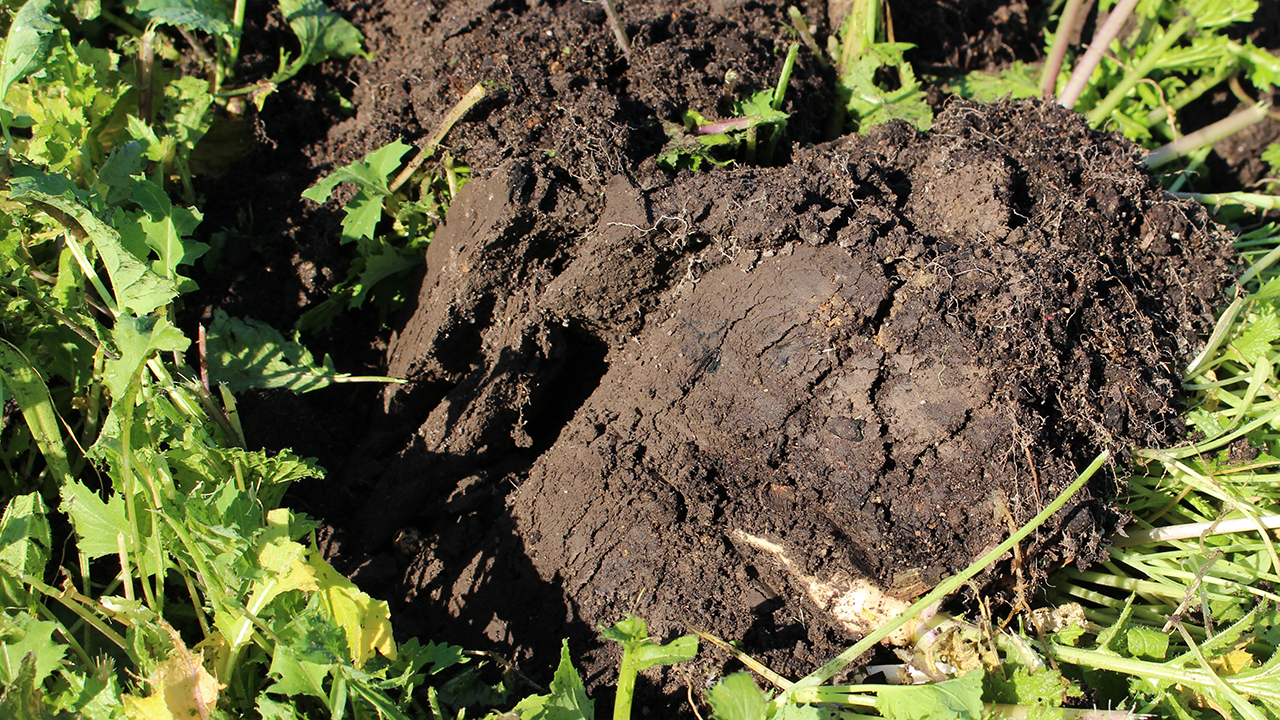
The best way to learn about your soil is by digging a sample and examining it carefully. Start by digging down a spade depth looking at the soil profile and the depth of the different layers. Is there much organic matter on the surface, how deep is the topsoil layer? Feel the soil across different depths, is it moist and how hard it is to dig, especially as you get deeper? Does it smell sweet or sour, what’s the colour, are there roots or earthworms visible when you break the soil up?
Diggers tip
Soil types can vary over a very small area. Test your soil in at least three different places. Make sure you are testing the area where you hope to place your garden beds.
When you start a garden, it’s generally a good idea to start cultivating or digging over the topsoil. Digging breaks up soil into smaller pieces, relieving compaction and improving aeration, drainage and water retention. It also releases nutrients and provides a finer tilth in which to plant seedlings or to sow seeds. A topsoil depth of 20-30 cm is best for most growing situations. If you have heavy clay subsoil, be careful not to mix this up with the topsoil when digging.
Digging also provides an opportunity to add in compost; this is an important step as any form of cultivation reduces the percentage of organic matter in the soil. Annual additions of compost dug carefully in will help maintain healthy levels of soil organic matter. It's important not to over cultivate a clay soil, particularly when wet, as this can degrade the soil structure over time.
Machines like rotary hoes are best used infrequently, such as initial site preparation and only when soils are dry. The downside of digging is that it can lead to the growth of weeds as the seeds are bought to the surface and they germinate in what are now excellent conditions for emergence!
There are even more advanced methods to cultivate and prepare your beds – the most well-known of which is ‘double digging’. This method is particularly useful for shallow topsoils with an impervious, compacted subsoil. It involves first digging a trench about a spade depth (20-30cm), lifting this and setting it to one side. Next the subsoil layer is dug over or forked, again to a spade depth. To the cultivated subsoil layer gypsum can be applied (if the soil is suitable) and a deep layer of compost added. The next trench is then dug with this topsoil being placed on the adjoining amended subsoil layer. This process is completed with the first soil that was excavated being used to fill the last amended trench. Double digging is labour intensive, but in most situations only needs to be done once. It does improve the soil for planting, particularly depth, drainage and aeration and is best done when establishing a bed in a new location in heavy soils.
Diggers tip
Build your beds with care the first time and save yourself time and energy rebuilding them every year.
Remember, well-structured soils are those with a dark, crumbly structure, these crumbs being held together by clay minerals and organic compounds.
Soils are improved generally by adding organic matter, particularly when growing food plants. However, it is important to have the ‘right’ sort of organic matter – this will be discussed in depth in Module 3. The main benefit of organic matter as it decomposes is the production of humus – rich in storing carbon and nutrients in the soil. Like many clay minerals, humus is a colloid – a miniscule soil particle that is incredibly important in improving soil structure by retaining nutrients and increasing microbial activity.
The main growing challenges we have with growing food are when soil is excessively sandy and water and nutrients leach out of the soil. Or soils that are heavy clays, which binds up nutrients and water doesn't travel through the soil structure.
Sandy soils are great for growing as they are open, free-draining and can resist compaction, but there are also a few problems, especially in evenly graded, fine sands with little visible organic matter. Sands can lose water and nutrients rapidly, especially under warm growing conditions. Adding small quantities of clay soil and large quantities of organic matter, preferably a high-quality compost, to the top 20-30 cm of the profile can change the soil to a sandy loam. Just make sure the additions are mixed thoroughly with the existing soil.
If it’s not possible to add clay or sufficient organic matter, you could also consider using a ‘water crystal’ product to improve soil water-holding capacity. However, these products are costly, vary in their effectiveness and at best are a short-term solution as they need to be reapplied annually to be effective.
Many sandy soils may also have problems with wettability or water repellence, particularly when very dry. This can be overcome by adding clay as discussed above but this can also be treated by adding a wetting agent to the soil. Used in either a granular or soluble form, wetting agents are essentially these are a light, degradable detergent that improves water infiltration in soils and is non-toxic to plants.
Clay soils can also be great for growing as they are stable, hold a lot of water and sometimes nutrients too. But clays can be low in oxygen, slow to drain, set a surface crust and become hard to dig when they are dry.
Again, adding organic matter will improve the structure of clays, especially if this is combined with additions of coarse sand. As per the example of improving sandy soils, it’s a good idea to make sure you mix these additions well into the soil profile when preparing your site. Some clays will need substantial additions of sand to make significant improvements, between 60 to 100% by volume. This can mean that you end up with an elevated bed, a good thing in a clay soil as it further assists with drainage.
It’s best to do this work and to cultivate clays when they are dry, not wet. Digging a wet clay soil can destroy the structure and make it more compacted and difficult to work in the future.
Some heavy clay soils may also benefit from the addition of gypsum, a form of Calcium sulphate. When added to soil gypsum causes the soil to ‘aggregate’ and form crumbs, in turn improving water infiltration, nutrition and aeration. It does this chemically by displacing harmful sodium ions and replacing them with beneficial calcium ions. But gypsum will only work in clay soils that are responsive to gypsum and to do this we need to test the soil.
Referred to as a slaking test, it determines how stable aggregates in the soil are when they are immersed in water. To do this you need a glass jar, water, and a small sample of your dry clay soil. Take a small amount of the soil in your hand and knead with some water, making 2 to 3 balls each about 5-7mms in size. Place this soil sample into a jar of water that’s about three-quarters full and gently shake it. Leave the jar for 30 to 60 mins and observe the water. If the water remains clear and the balls are intact after an hour, leave for a further 24 hours. If there is a ‘halo’ of clay around the balls of soil, then they will also be somewhat dispersive. The cloudier the water is, and how quickly this develops, the greater the benefit will be of adding gypsum to the soil. If, however, the balls remain unchanged in the water, or if they have fallen apart somewhat but there is no cloudiness in the water, the soil will not be responsive to gypsum. This fragmentation of the soil on exposure to moisture into aggregates or clods is called slaking.
If the water becomes milky or cloudy then the soil is dispersive and will be responsive to gypsum. Add between 0.5 to 1kg of gypsum per square metre to your soil, either left on the surface or preferably gently dug in. It will take a few months for the gypsum to fully dissolve and start working to improve the infiltration and soil structure, lasting for a year of two.
Diggers tip
Take a small, rounded ball of soil and drop it into a glass of deionized water. If the clay ball stays intact, then the soil is unlikely to be gypsum responsive. But if the water gets a little cloudy and some of the clay starts to disperse, then the soil will be responsive to gypsum and application is recommended.
If you are purchasing soil for your garden from a garden supplies or soils yard, make sure to check the product carefully as quality varies enormously and some mixes can be even harmful for plant growth. Always ask to see the details on the soil mix in terms of its components, preparation and any test results of its physical and chemical properties.
Feel the soil mix and determine its texture, ideally it has a loamy but grainy feel to it. Most commercially available soil mixes are blends with different proportions of sand, soil and composted organic wastes. Too much poorly composted organic matter in a mix will lead to rapid deterioration in the soil after application, causing further problems with plant nutrition and water repellency over time. The soil mix should also have a neutral pH (not above pH 8) and be sweet smelling (not smelling distinctly of ammonia or sulfur).
The best indicator of quality is that the soil complies with the Australian Standard for Landscaping and Garden Use (AS4419-2018). Always look for this when purchasing.
Further learning
- Know your soil - Gardening Australia
- Soil cultivation - Royal Horticultural Society
- A series of books: Teaming with Microbes, Teaming with Nutrients and Teaming with Fungi by Jeff Lowenfels (Timber Press, 2010-2017)
- Grow Your Own: How to be an Urban Farmer by Angus Stewart and Simon Leake (Murdoch Books, 2017)